This is the second part of the Metal Gear Solid walkthrough for the Sony PlayStation, based on the "Normal" difficulty setting. The article covers the early-middle part of the game, mainly taking place within the nuclear warhead storage building on Shadow Moses Island, and concludes with the entrance into Communications Tower A.
Nuclear warhead storage building (1)[]
Goal: Head to the elevator
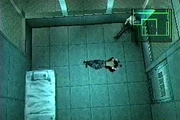
The walkway on the left, just inside the entrance, leads up to a viewing station of the building's main floor. Pick up the Ration here, if necessary, and use First Person View to become familiar with the floor's layout. There are three NBC warfare troops patrolling the area, equipped with gas masks. Afterwards, head back down the walkway, then go north, down the ramp, to the partially-raised large door. Crawl underneath the door and enter the main floor.
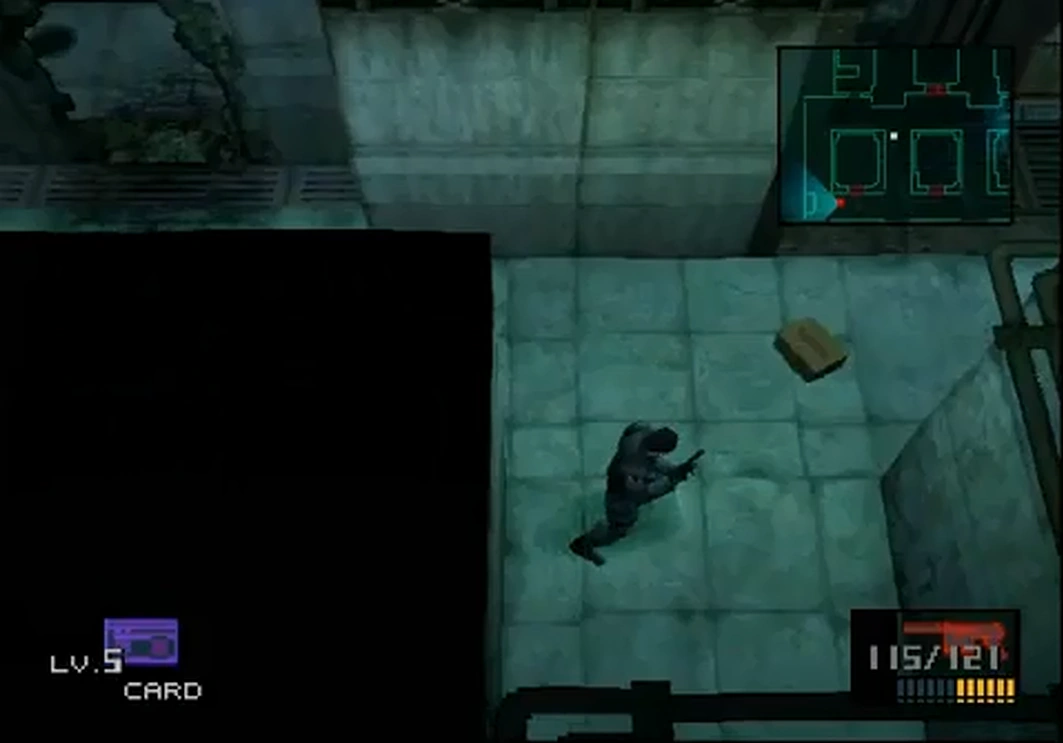
Due to the risk of igniting leaked nuclear material from the warheads, weapons fire is prohibited by Snake's internal nanomachines. The only weapon that can be used safely are the chaff grenades (as well as the M9 tranquilizer pistol in The Twin Snakes). The guards, however, will have no such restrictions to their assault rifles and grenades, should Snake be spotted (they do not do so in The Twin Snakes). If the Alert Mode is triggered, the room will be filled with nerve gas and the main door will seal shut.
Head west and hide within the alcoves of the south wall until a guard walks past (the cardboard box can prove useful). Continue west towards the stairs. Go up the stairs to use the elevator to the north and then select the first floor basement (B1).
- Alternatively, head north, avoiding the surveillance camera and a guard patrolling around a cargo truck. Head up the stairs to the northeast, and continue west along the walkway. Avoiding both another camera and guard, enter the elevator.
Nuclear warhead storage building (B1)[]
Goal: Procure the remote control missiles
The first floor basement is patrolled by two light infantry guards. They will sometimes alternate between patrolling the main computer room to the southeast, and using the men's restroom to the northwest. The latter can be easily sneaked up on, while he is urinating, and killed if necessary.
Head through the southeast door into the computer room, which has several storage rooms along the exterior. A Nikita RC missile launcher is located in the central east room. After procuring it, head back to the elevator and go to the second floor basement (B2).
Nuclear warhead storage building (B2)[]
Goal: Disable the electrified floor to find Hal Emmerich
Upon entering the floor, the Soliton Radar will show the location of a person to the east. Pressing against the east wall will reveal that it is Metal Gear's chief engineer Dr. Hal Emmerich. A window to the west will reveal an electrical control panel within a gassed area. Head south into an airlock, then out into a gassed hallway. The floor is electrified so the control panel to the northwest will need to be disabled.
To disable the control panel, fire a Nikita missile down the hallway, guiding it to the south, and then to the west into an open room. Guide it north, through another door, and then east, directly into the control panel. Several gun cameras will attempt to shoot the missile down, so allow the missile to travel at its maximum speed through these areas, by limiting movement with the D-Pad. After disabling the panel, head back into the airlock to replenish the O2 Gauge.
Head south down the hallway, and enter the third room to the southeast, which contains a Gas Mask. Go to the end of the hallway then head east, avoiding the gun camera above the door.
Upon entering a second airlock, sounds of gunfire and shouting will be heard in the next area. Continue onward and head through the door to the north. The following hallway will be littered with the dead bodies of several NBC warfare troops. Pass through the hallway, to discover that the person responsible is the Cyborg Ninja, then follow him into Hal Emmerich's lab to the north.
Nuclear warhead storage building (B2) - Lab[]
Goal: Rescue Hal Emmerich from the Cyborg Ninja
BOSS: Cyborg Ninja[]
The battle with the Cyborg Ninja goes through several different stages where he will use different techniques. Don't shoot him as he can deflect bullets with his sword.
- Stage 1: The Ninja walks up to you with his sword. Attack him before he attacks you.
- Stage 2: The Ninja will choose to fight you hand to hand, but will also leap above you and do spinning kicks. Do the same thing as in Stage 1, but attack when he finishes a leap or jump.
- Stage 3: The Ninja will use Stealth Camo. You are still able to see him, so do the same thing as in the previous stages.
- Stage 4: The Ninja walks up to you, teleports to a different position, and throws one big punch. While he is teleporting move out of the way and, after his punch misses, beat him up with your fists using CIRCLE, but don't try to use any weapons.
- Stage 5: The Ninja jumps around randomly, causing damage to the surrounding area. Use the FAMAS on him, so that you don't have to get too close to him.
Whenever you feel overwhelmed (maybe at Stage 4) use a Chaff Grenade, which will grant you landing a combo at the Ninja.
After the battle with the Ninja, who is revealed to be Gray Fox, travel W to the room with the gun cameras. The 4th room to the NE has Night Vision Goggles.
Retrace your steps to the elevator again.
Nuclear warhead storage building (B1)[]
Move to the room to the S. As discussed between Snake and Otacon (Emmerich), Meryl Silverburgh has a wiggle in her walk. One of the guards here displays this particular walk and will run to the women's restroom if "he" sees Snake. Follow this guard into the restroom, where "he" will reveal himself to be Meryl, wearing her disguise. If you kill her at ANY time, the game is over.
Head to the commander's room via the hallway to the NW.
Nuclear warhead storage building (B1) - Commander's room[]
Meryl will succumb to Psycho Mantis's mind control and point her pistol at you. She will attempt to shoot you, so you need to stop her. The best way is to knock her out using a stun grenade, otherwise a combination of single punches will eventually stun her.
However, a 'non-damaging' way of knocking her out is to choke her using the SQUARE button. This is done getting by Meryl in a choke-hold and by not pressing the SQUARE button rapidly, rather more calmly, with each press about a second apart, effectively and instantly knocking her out.
BOSS: Psycho Mantis[]
- Plug the controller into controller port 2 to fool Psycho Mantis' "mind reading" ability.
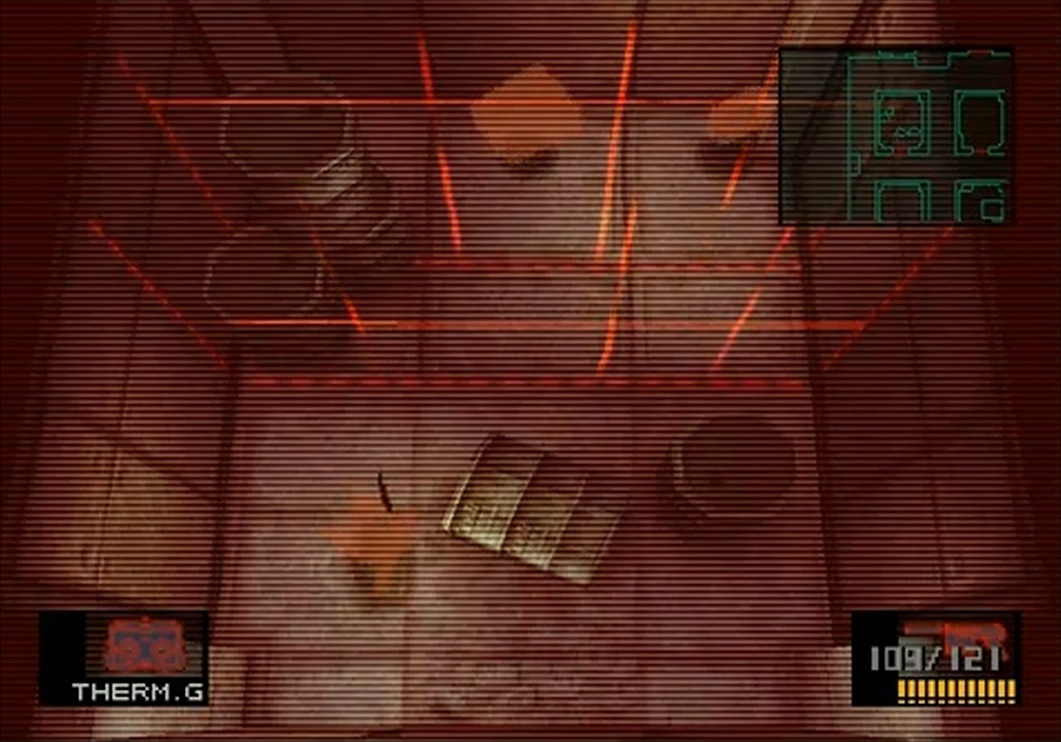
- Mantis will also use optic camouflage, so equip the Thermal Goggles so that you can see him and get a clear shot.
- Crawl to avoid Mantis' psychokinetic attacks.
Mantis will try using Meryl to attack you again, so punch or choke to stun her or use another stun grenade.
Cave[]
After the battle, head N and you will enter some caves inhabited by wolf dogs. Meryl gets through easily but they seem to dislike Snake, and will attack him on sight. Either punch to temporarily stun them or kill them if necessary. The directions to get through are: NW -> crawl -> NE -> E -> S -> SE -> crawl
Here when you meet Meryl, you might want to do the box trick with the baby wolf. Punch Meryl and quickly equip a cardboard box, Meryl will whistle and the baby wolf will urinate on the box. Next time you have to get past the wolves, use the box, the wolves wont attack you.
After that, head through the door to the N.
Underground passage[]
Walk to E Wall -> N
The PSG-1 is stored back in the armory.
Avoid the IR sensors with thermal goggles to acquire the PSG-1.
Sniper Wolf shoots Meryl and you have no Sniper Rifle with which to fight her.
You will have to retrace your steps back to floor B2 of the Tank Hangar. When you head back through the Snow Field there are gun cameras set up and more mines. After you reach B2 of the Tank Hangar, the PSG1 will be in the NW room. Crawl under the IR beams to avoid them.
Retrace your steps back to the Communication Towers
BOSS: Sniper Wolf I[]
- Get into the crawl position
- Locate Sniper wolf
- Use Diazepam to reduce hand shaking (wears off over time)
- Use the PSG1 to defeat her. You can't get a clear shot with anything else.
Head N to the Communication Towers. It's vitally important that you save the game at this point.
Head to the NE door. You will be captured by Sniper Wolf and a group of soldiers before you can reach the door. After Wolf leaves her mark on Snake, he will get knocked out by one of the guards and dragged away.
Tank hangar (B1) - Medical room[]
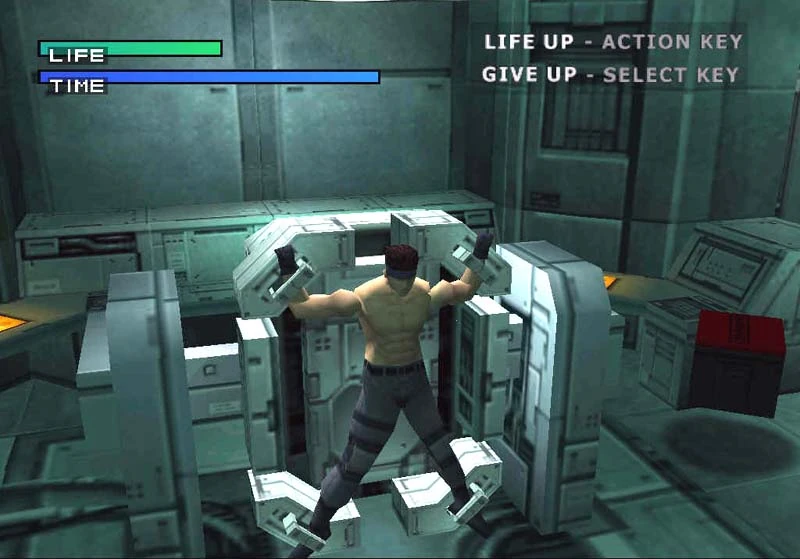
You wake up in a torture room. There is no special technique to beating Ocelot's torture; success depends entirely on whether you can hit the button fast enough. The important thing to remember is that there's no "continue" option here if you die, which is why it's important to save after the Sniper Wolf Battle.
Solid Snake being tortured by Revolver Ocelot.
Despite Ocelot's warning not to use auto-fire, it is possible (albeit risky) to use a controller with an auto-fire or turbo mode; it depends on the specific controller you're using, as the game will not detect auto-fire use unless the controller emulates pressing the buttons at an exceptionally fast speed. If the game does detect use of auto-fire though, Ocelot will whip out his pistol and shoot Snake through the head, resulting in a Game Over.
If you resist the torture device Meryl will be allowed to live and you meet up with her later on. If you give in, Meryl will be left at the mercy of Revolver Ocelot. The option you choose will determine the special item received, and the ending slightly; the former will have Meryl give you the bandana, which gives you infinite ammo when equipped, and the latter will have Otacon give you the stealth suit, making you invisible.
Ketchup can be used to lure the guard into Snake's cell.
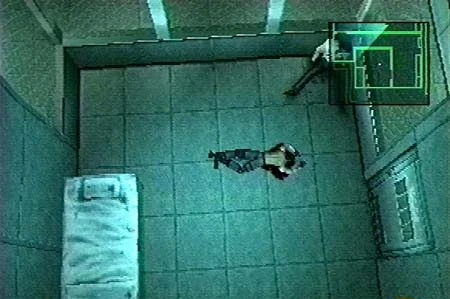
You end up in a prison cell with the already decomposing corpse of the DARPA Chief. Wait until the guard Johnny Sasaki has left the room (due to a bout of diarrhea) and then use the ketchup provided by Otacon to fake your death, or crawl under the bed. When he comes back he will enter the room to investigate. This is when you stand up and knock him out. If you don't knock him out, eventually Gray Fox will come and rescue you.
Exit through the door to the NW -> acquire your gear to the NE -> there may be a Timer Bomb in your inventory after escaping the cell. To dispose of it open items menu, highlight the bomb, and press Circle -> head through the door on the E Wall Use the elevator but watch out for the gun cameras when you get out. Travel to the 1st floor but on your way back to the Communications Tower make a detour to floor B2 of the Nuclear Warhead Storage Building instead of heading directly to the Underground Passage to retrieve the Body Armor or Thermal Goggles if you missed those. With the Level 6 Card Key given by Otacon you can now access a room to the SW guarded by gun cameras along the path your Nikita missiles took to destroy the electrical switchboard earlier in the game.